Share
Tweet
If You Like The Information Below Please, Like It Or Share It!

Tools and Materials Needed:
Instructions:
Step 1: Using a floor jack, lift up the suspension of the camper so that the tire is completely off the ground
Step 2: Remove wheel lug nuts with 13/16” socket or 4-way and set wheel aside
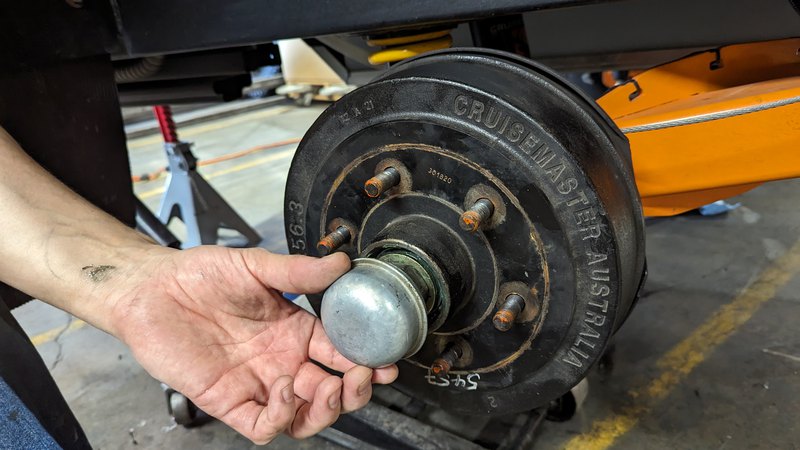
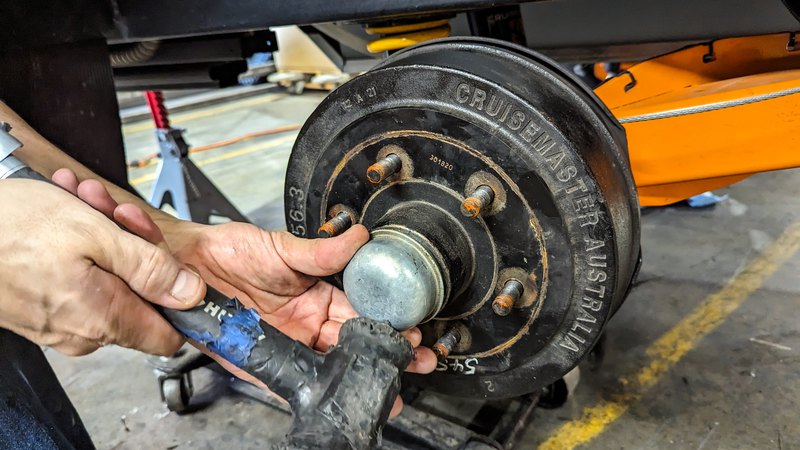
Step 3: Using a flathead screwdriver and a small hammer, gently pry off the dust cap on the hub
Step 4: Bend and remove cotter pin with a pair of needle nose plyers
Step 5: Using a 38mm socket, remove the castle nut and the washer behind it
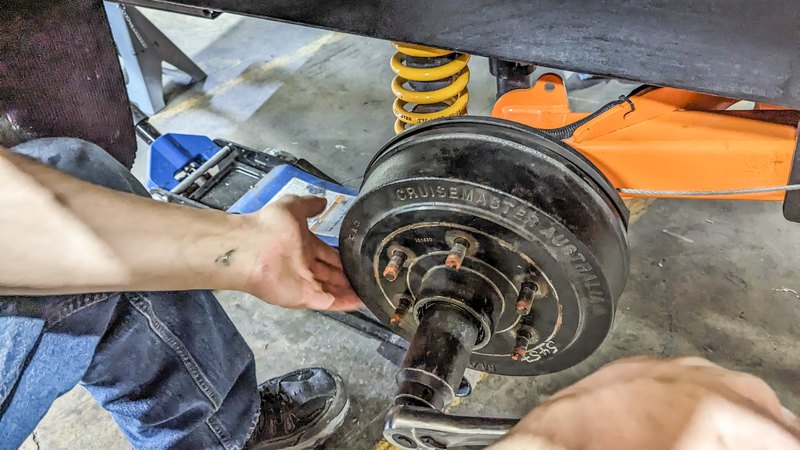
Step 6: Grab both ends of the hub and work it slowly off the brake assembly.
Do not pull it off all the way because the front bearing could fall out and become damaged!
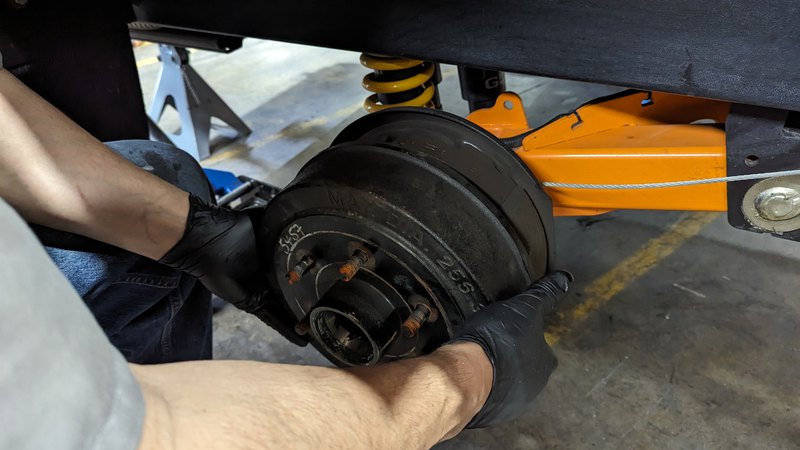
Step 7: Using a paper towel place one hand over the front of the hub (to catch the front bearing) and with the other hand pull the hub off.
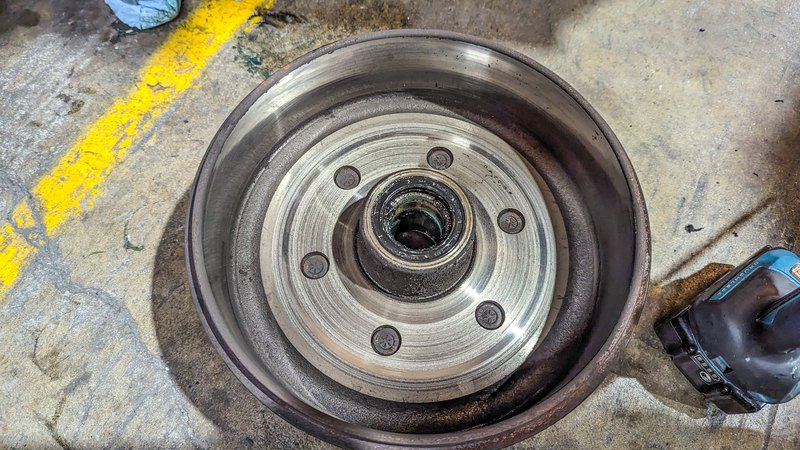
Step 8: Remove the rear seal with a seal puller or the back end of a hammer. Seal will be damaged and replaced so don’t worry about preserving its integrity.
Step 9: Remove the rear bearing.
Step 10: Clean the spindle with a paper towel or shop rag. Inspect for damage or defects.
Step 11: Clean both bearings with soapy water. Inspect for damage or defects.
Step 12: Once the bearings have been inspected and determined to be in good condition, you can repack both bearings with Castrol LMX grease or any comparable high temp lithium NLGI 2 grease. Be sure to push the grease through each roller on the bearing so that the excess comes out the other side.
Step 13: Place the rear bearing into its race and tap in your new rear seal (Cruisemaster Part #11-3212) until it is flush. Use a rubber mallet or something softer than a metal hammer.
Step 14: Lube up spindle with the LMX grease.
Step 15: Place front bearing into its race and put the entire hub on to the spindle
Step 16: Lube the front washer with the LMX grease and place it in front of the front bearing
Step 17: Screw on the castle nut until it is finger tight. Using your 38mm socket, tighten the castle nut until the hub no longer moves. Back off the nut until the hub can move again AND you have a clear line where the cotter pin can go through the castle nut and the spindle hole (see picture)
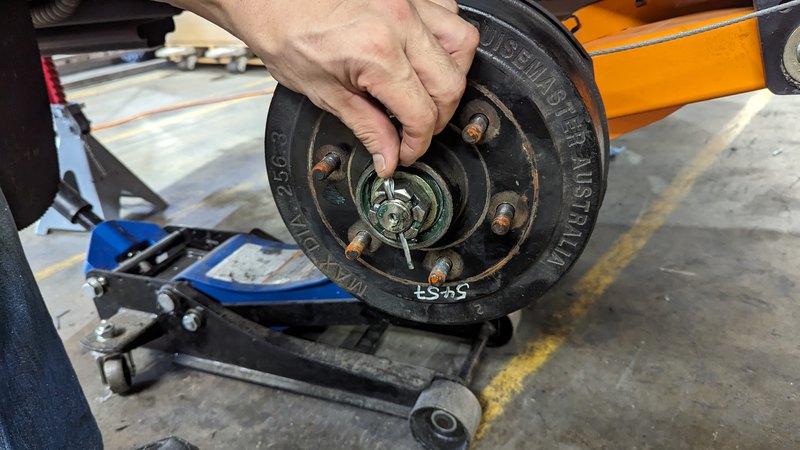
Step 18: Install new 5/32” X 2.5” cotter pin and bend the ends just like they were before you removed the original cotter pin. Cruisemaster recommends you replace the cotter pin each time, but in a pinch the old cotter pin can be reused if there are no viable options.
Step 19: Test the hub for ease of movement by turning it backwards and forwards. Listen for any unusual noise. Check for play in the hub. Too much play and it could be too loose. If the hub still feels hard to move it could be too tight. Use your best judgment.
Step 20: Once you feel comfortable with the castle nut’s position you can put the dust cap back on. Hammer around the edges lightly until you push it in all the way. If available use a 2-3/4” dust cap tool.
Step 21: Replace wheel and tighten lug nuts to 100ft/lbs. Apply torque seal to confirm lug tightness.
The rear seals can be found on our Shopify site here and come in pairs for BOTH axles.
If you wish to purchase a bearing kit which includes both inner and outer bearings, rear seal, and cotter pin you can find it here.
**This kit is sold on a per axle basis. If you wish to replace bearings on both axles, please order a quantity of (2)**